Here's a little trick to achieve a tip-top aesthetic outcome! - Michele Orefice
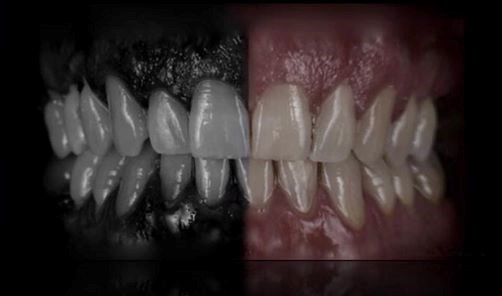
My work, like that of many dental colleagues, consists of continuous improvement and a daily search for understanding and attention to detail, so as best imitate the restorations done on the most demanding patients and by the most demanding dentists.
My work routine involves various methods that enable me to improve and to do fast and aesthetically-pleasing restorations, especially when I have to reproduce single anterior or central teeth.

You know perfectly well how important it is to figure out where to put a particular part or effect, as you are already in control of it on the mixing pad. Think about it could make things easier for you if you could already see the colour that will result and the intensity of several mixed powders, before using it in your layering.
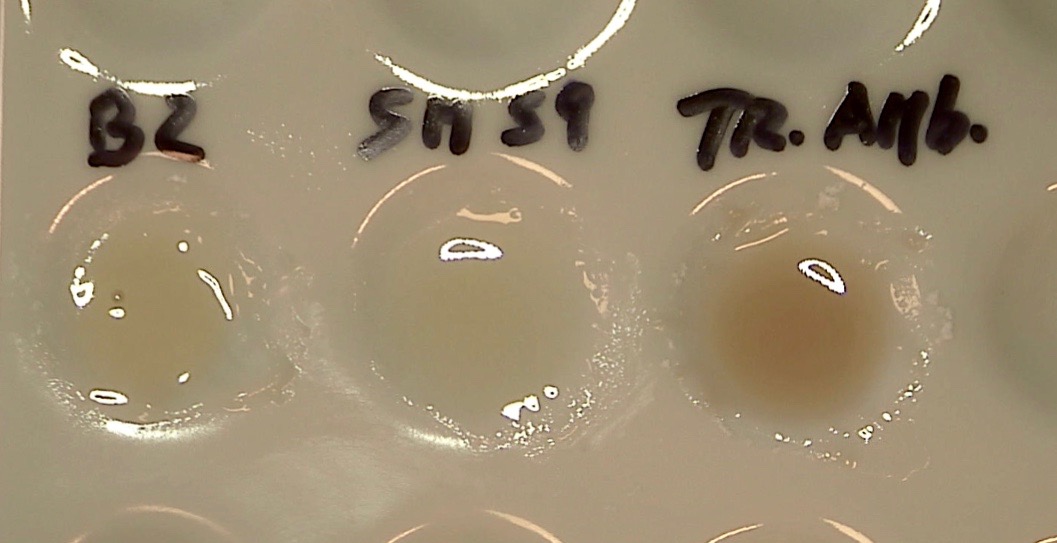
Here I'll let you in on one of these techniques to create the specimens in a short space of time and with a predictability of colour, as early as the layering process phase.
Remember, though, that they are specimens, NOT layering!
The technique involves the discoloration of the ceramic powder and the subsequent mixing with high plasticity liquid so as to obtain a mixture suitable for previewing the final colour of the ceramic material before firing. Other companies of course already have some liquids and procedures, and now I'll show you how to do it with what you already have.
I would like to remind you once again that this technique is to be used solely in order to make specimens and is applicable to all types of dental ceramics. (Whereby the temperatures must of course be adjusted)
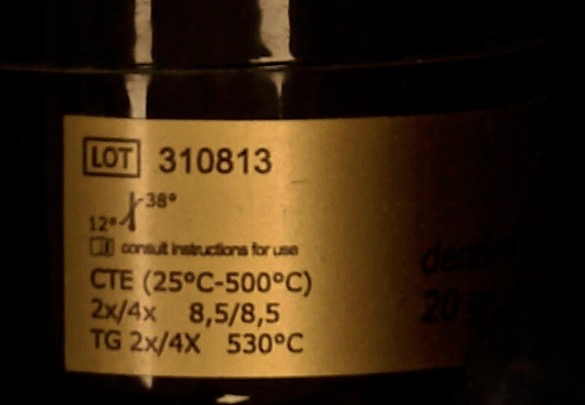
In practice you have to take the material you need and discolour it to remove all pigments that do not allow you to see the true colour. To do this we must bring the powder to a high temperature, but without ever exceeding the given threshold by the TG point usually supplied by the manufacturer. If this point is exceeded, vitrification will begin.
Once this process is done, you can mix with the liquid glaze to which a very small amount of water is first added, and you will be able to see, as if by magic, the right colour.
The ceramic that I used in this case was Art Oral ZR, made by Reox, a very versatile material given its wide scope of use (lithium-titanium zirconium-disilicate).
Below, the heating table for the discoloration of Art Oral ZR.
Heating table for Art Oral ZR discoloration
initial temp.
final temp. rise, in degrees/min. maintenance of final gap gap 380° 530° 100° 1 minute no
Caution!
If you use other ceramics, must adapt the initial and final temperatures as a function of the TG of your material.

Two more little tips.
The program to be used to heat the specimen is given in the heating table for Art Oral ZR or of your ceramic material, with preheating of at least 5 minutes in a semi-open furnance in order to burn the organic components of the liquid glaze.
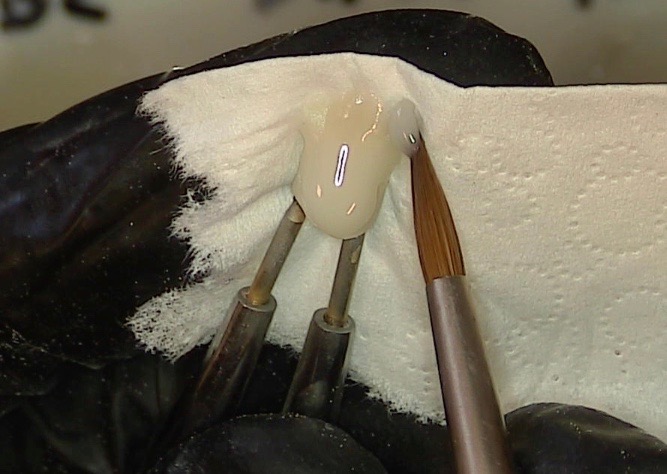

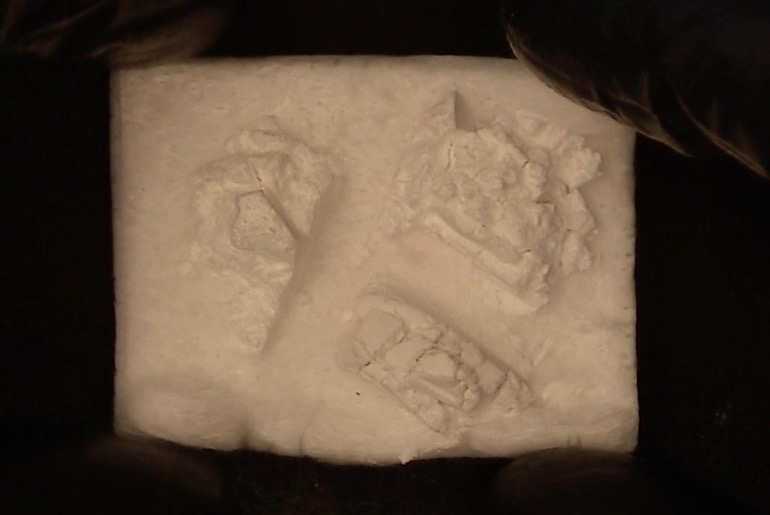
materials
The zirconium cap shown above may be used only to check the specimens and will not go into the mouth.
I hope this article has provided you with an aid to improve your work; if you knew it all already, please consider it a refresher, and I thank you anyway for your time.
If you need more information, you can write me via the form below.
Have a nice day at work!
Michele Orefice
--------------------------------------------------------------------------------------------------------------
SIGN UP FOR THE COURSE "NATURAL WHITE & NATURAL PINK" WITH MICHAEL OREFICE
CLICK HERE! - COURSE MICHELE OREFICE -